
If you are participating in the UK Scrappers blog hop, you may have come here from the lovely Bubbly Funk Bubbly Scrumptious blog. Check out UK Scrappers for all the info and maybe head to the start of the blog hop if you haven't already to see all the lovely projects and details of prizes and special offers my fellow lovely UK Scrappers sponsors have up for grabs! After checking out my project shown bellow you can head on over to see the next project in the blog hop which you'll find on the Cre8tive Online blog, http://cre8tivekate.blogspot.com/
If this is your first time here first off, hi I'm Leo, {short for Leonora, Leo is way easier to type though ;-) } my store is Crafty Templates, www.craftytemplates.co.uk I specialise in papercrafting kits, templates and classes, all the things you need to help you on your crafting adventures. You can read more 'about' Crafty Templates over on the store site here, http://www.craftytemplates.co.uk/about.html
OK so onto the project. I wanted to combine a few products from the store and I also wanted to demonstrate a Crafty Template template sheet to show how you don't just have to use them for cards they're great to use to make an embellishment for all kinds of projects. For this particular project today I made these shabby chic pictures. You could make any one of these for yourself or for a gift, they're really easy to personalise too.

For this project you'll need some patterned papers, fabric scraps (optional), cardstock, a picture frame, some mini alphabet stickers and a printed out Crafty Template sheet. Just for the UK Scrappers Blog Hop I've put together a little collection of shabby chic style Crafty Templates you can download for free. The templates are all taken from the March 2011 templates set, they're in PDF format.
Click here to download the Crafty Templates
I've started out with a picture frame, {I got the ones I've used from Wilkos} and I'm using one of my card kits 'Nursery Rhymes' which you can get from the store here. This would be a great project to do to make use of off cuts of papers and card too or even wallpapers or fabrics you have leftover.


Cut out the template you're using.

Pick out a patterned paper and draw around the template onto it. I've drawn around the template on the back of this piece of paper because it's easier to see.

Cut out the template from the paper. To get to the inner parts of the chair use a hole punch to make holes as a starting point for your scissors to cut into.

If you want your shape to be a silhouette you can keep your chair like this but I'm going to add the cushions too.

Cut out the top cushion from the template.

You can use paper but I'm going to use a scrap of fabric. The templates are really easy to cut from fabric too. Just glue the paper piece using a glue stick, {I'm using a Pritt Stick} onto the back of the fabric. Then cut around the paper edge to make the shape. Leave the paper glued on the back to keep it from fraying.

To glue the cushion shape to your chair lay the template over the top and use it to position the cushion.

Take the template away when it's glued down.

Repeat the process for the cushion on the bottom of the chair.


Now I'm going to add another touch to the mount from my photo frame because I'm not loving that white so I've decided to alter it. I'm going to use book pages and collage them over the top of the mount. To do this you'll need book pages or other thin paper, some PVA glue, water and a paint brush.

Rip the paper into small pieces. Dip your paint brush in the water then in the PVA and use the watery glue to paste the paper strips to the mount.

For the edges turn the frame to the back and fold the edges over then glue the down for a neat finish.


Add the whole thing to your photo frame to finish. As another little touch I've added a bow made from a torn strip of fabric then glued it to the frame.

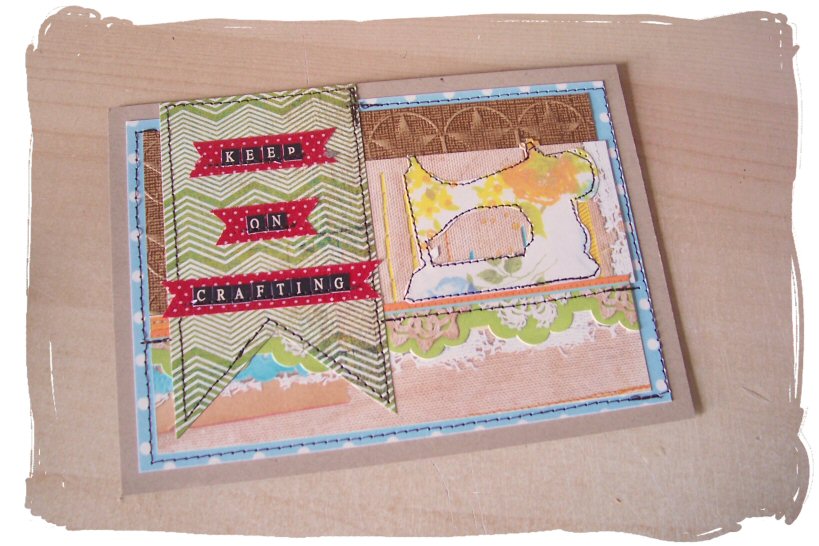
Here's another picture I've made using another of the templates. I began by building up the picture on a piece of kraft card using the papers and card from the kit. I've used the sewing machine template for this one.


Once your picture is finished all that's left to do is add it to the frame. I've glued on some fabric roses just to add an extra crafty touch. :-)

As an added extra today I'll giveaway a lovely kit of your choice from any in stock on the store to one commenter today, (will announce the draw winner tomorrow, 2nd November 2011)
If you've enjoyed using the templates today take a look on the store at the Crafty Templates club for details on how you can get more every month.
Happy blog hopping! Don't forget your next stop is the Cre8tive blog, http://cre8tivekate.blogspot.com/
xx Leo