Pink Fire Pointer February 2013

It's almost spring

We can't wait for Spring!!!! 
Come into Mom and Me to see all the cute new Easter cards, banners and decor!


Creating a Disney Scrapbook

seven months ago my family was having a blast on a week-long Disney vacation at Walt Disney World in Orlando, Florida. you might have noticed that i haven't shared a single thing about that vacation.

why? well, the truth is......i'm overwhelmed with how exactly to record the magical-ness of it. (if magical-ness isn't a word, it is now.)

do you ever get that way with your photos and/or memories. frozen for fear of 'messing' it up? silly, isn't it?

i took thousands of photos on that trip. eeeps! we also took advantage of the Photopass system and purchased the CD of images which gave me another 600 or so photos.

gobs and gobs of photos.

this layout is the very first layout i've made that displays photos from our trip....i hope that there are many more to follow, like, real soon!

there are SO many stories to be told from this trip.so many. i can't wait to see them all unfold in the pages of my scrapbooks.

this layout in particular was created using some new products released at CHA from Little Yellow Bicycle's Just Because and Naturals collections. i've also used quite a few Fiskars tools in the mix too!

this layout also appears today on a few other blogs.  in one place i'm talking about tips for putting the layout together and in the other talking about recording vacation memories as a whole. click on over to the Little Yellow Bicycle blog and to the Fiskateers blog for more of the story.  there are also links to products and tools at the respective blogs. 

Hobbycraft Workshops


Hi bloggers, I have some very exciting news to share with you all and that is that I will be experimenting with hosting some vintage workshops at the biggest craft store in the UK....... Hobbycraft! Starting at the end of next month I will be hoping to regularly host some vintage workshops at least twice a month at Hobbycraft in Crawley to inspire their customers to create something vintage, using mainly Tim Holtz products and few of Hobbycraft's in-store ranges. So if you fancy having a go then pop into Hobbycraft Crawley to pick up a leaflet about What's On or you can keep up to date by following my blog or facebook page.

The first workshop I will be hosting will be a Vintage Paper Bunting workshop just in time for Easter so you can decorate the house. Have a sneak peek below and follow the link to find out more details.


Wrapped up with love


Well this is the final Valentine's post and I really wanted it to be full of wrapping ideas however I seemed to have come down with a bug, not the love bug I'm afraid but rather a flu virus, so I only managed to create three different wrapping ideas which is so frustrating as I have many more in my head!

Anyway to start off I have included an example of placing those yummy chocolates from my last post into a simple cellophane bag and added a cute piece of ribbon and a handmade with love tag - make sure you take credit for those chocs you made!


Next up are two gift bag examples which you could put any little gift or present in, maybe place the cellophane bag of chocolates inside......


Well thats all I had time to make and was able to make but please check out my Pinterest Valentine's board for a few more ideas, such as gift boxes and wrapping flowers and the like.


Valentine Sweet Treats


This post will definitely make your mouth water with the temptation of sweet chocolates and they are so much fun to make.
Materials you will need:
Chocolate plastic mould (heart shaped for Valentine's)
Melting chocolate drops (Hobbycraft sell many different colours to achieve the look you want)
Bowl
Spoons
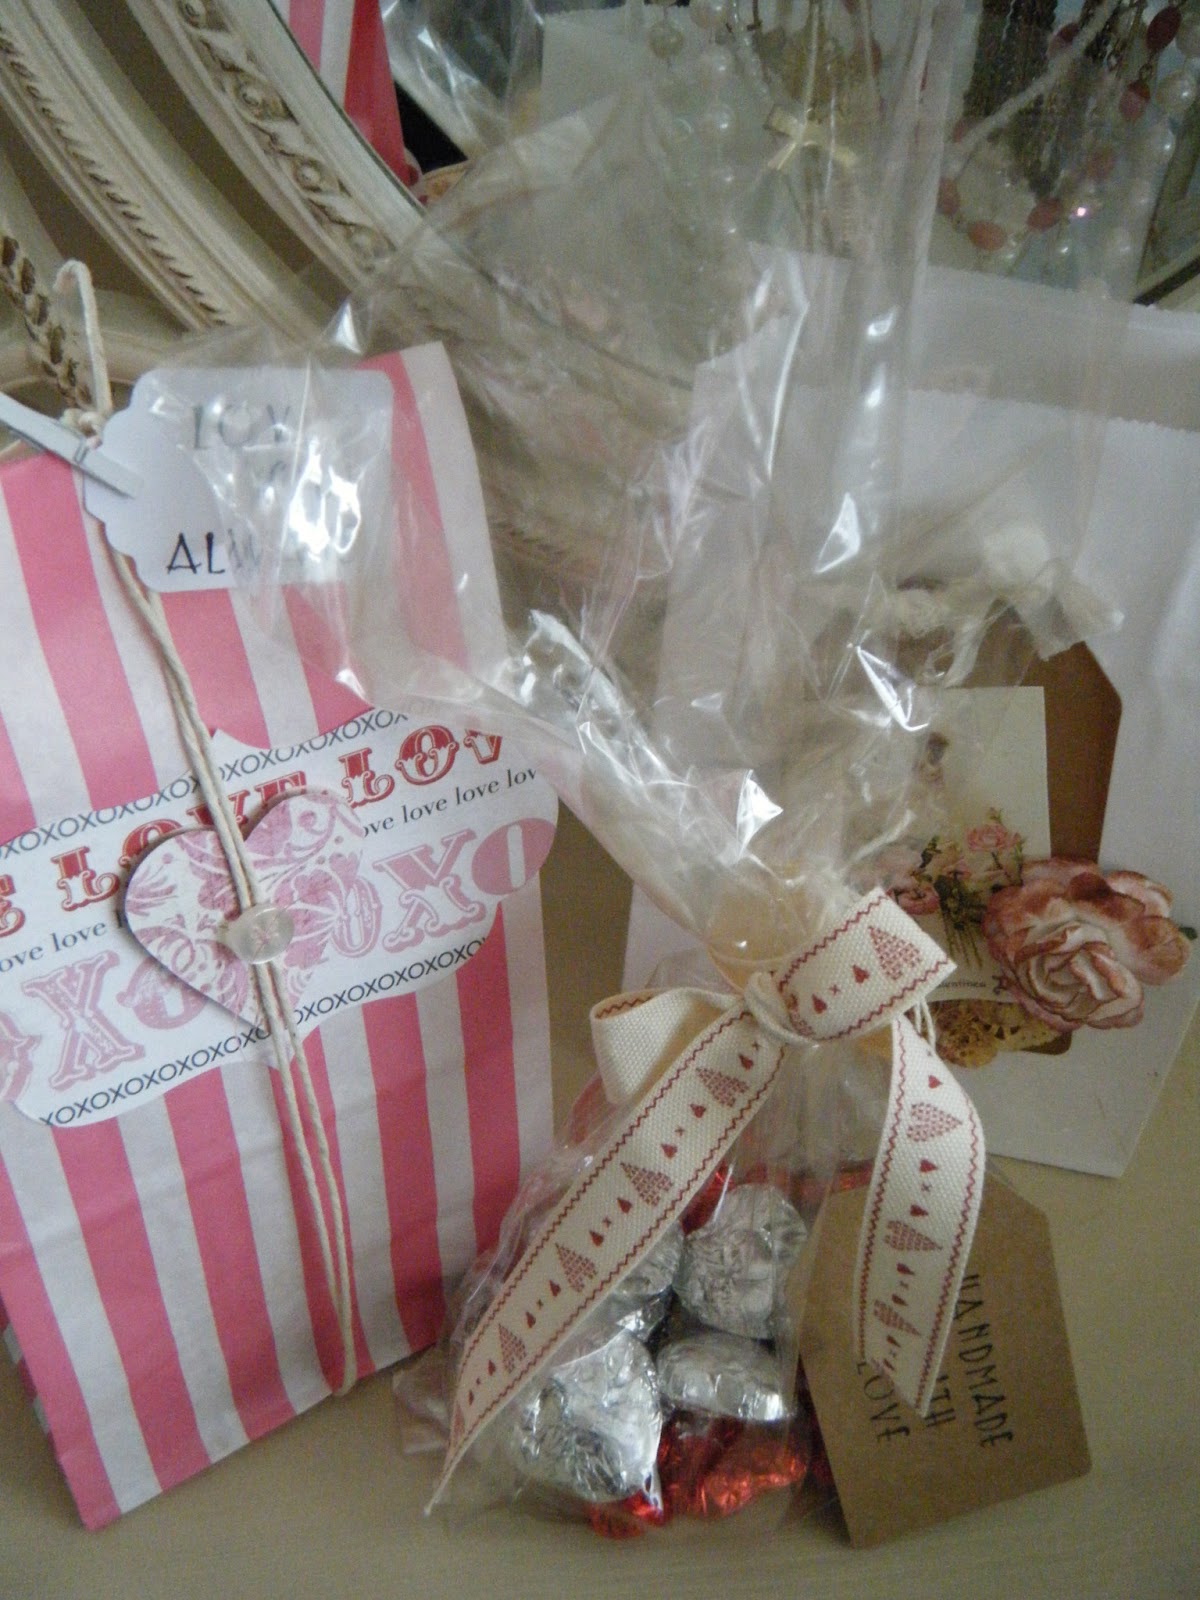
Foil wrappers - different colours (red and silver for Valentines)

Hobbycraft sell all the products you will need to make your own chocolates, with lots of handy tools, such as squeezee bottles and funnels if you need more help with precision but otherwise just have fun and play around with different effects and flavours.

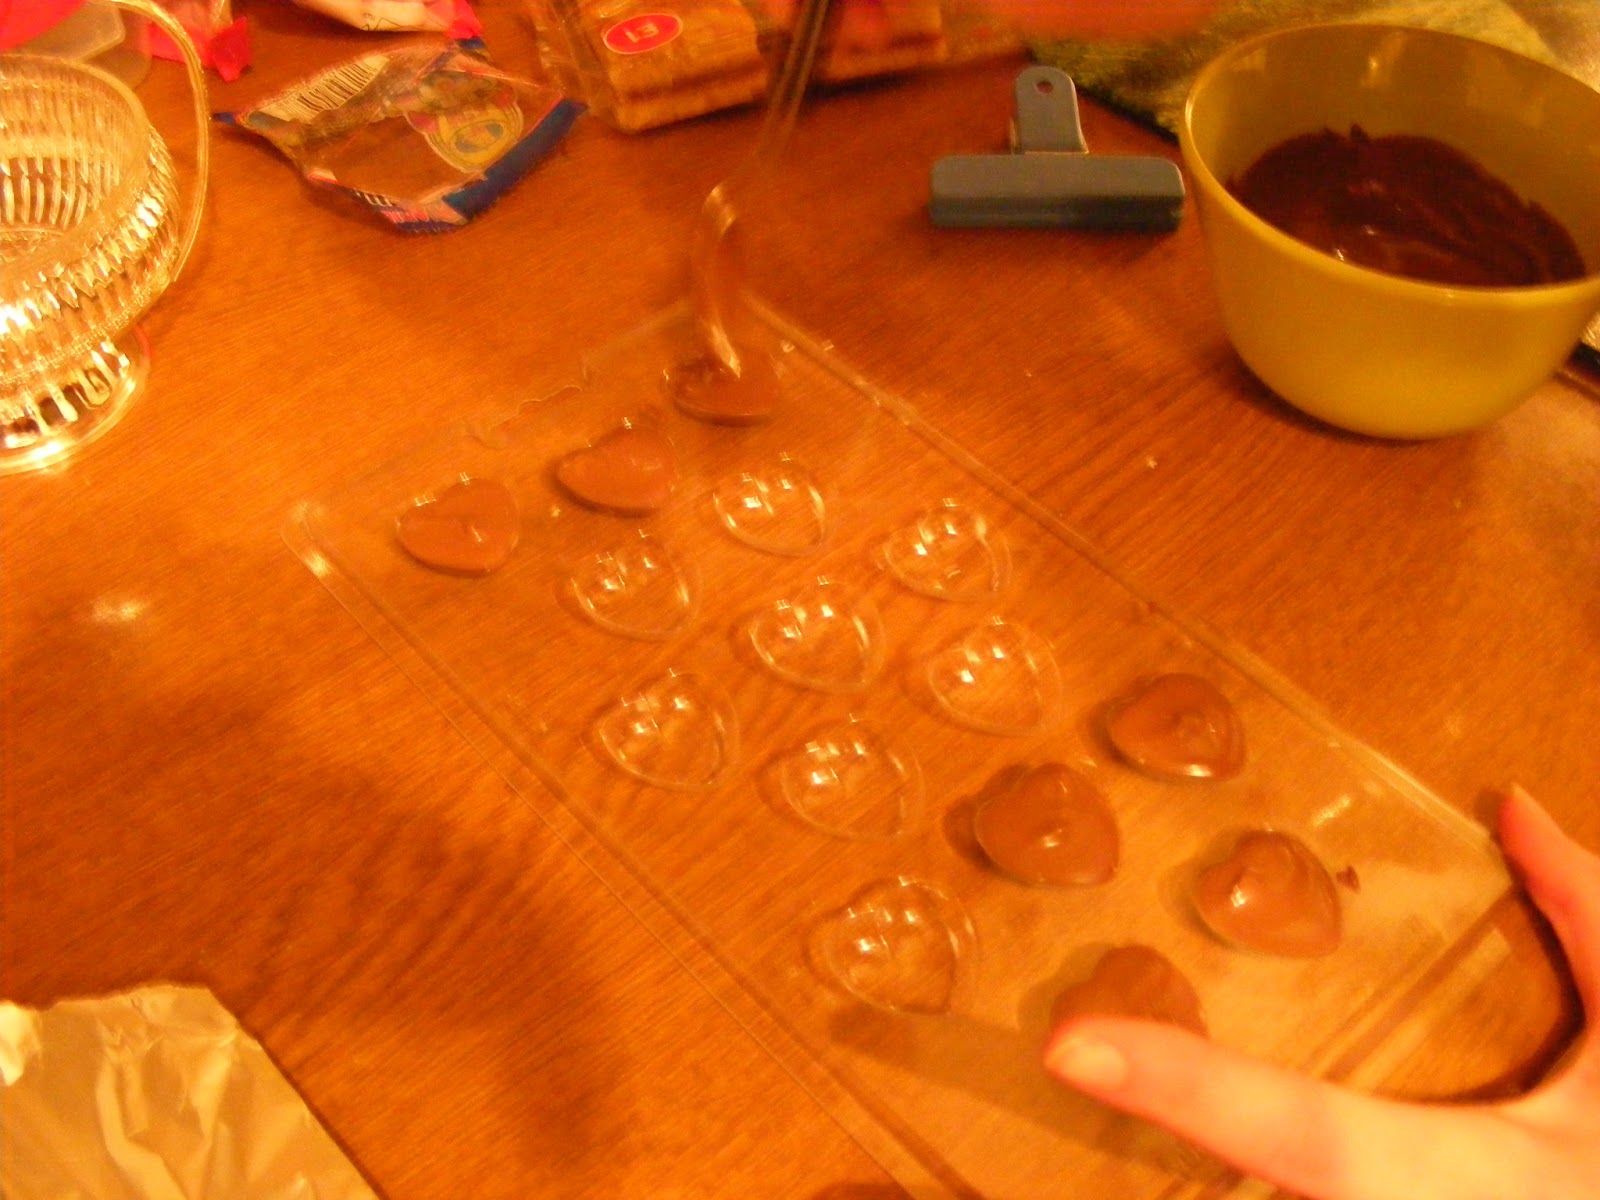
1. Melt the chocolate drops in a bowl in the microwave - follow instructions on the packet.

2. Using a spoon, fill up each mould and level off the top. If you have a funnel or squeezee bottle this may help with precision in getting the chocolate in the mould.


3. Once you have filled the mould, give it a light tap to get rid of air bubbles and then leave to set. I usually leave the mould to cool and set for 30 minutes and then pop them in the fridge for several hours.

4. Once the chocolates have set remove them from the mould. You can then either leave them as they are or you can add an extra bit of decoration using different colours of the chocolate melts, e.g. drizzle milk chocolate over white chocolate hearts - see picture below.


5. If you choose to add further decoration then you may need to leave these to dry for an extra 30 minutes to an hour before wrapping them.

6. Time to wrap those choccies. The pictures below illustrate how to wrap the hearts.


Place chocolate face down on the inside side of the wrapper. Outside of the wrapper will be shiny and coloured.


Fold over two sides to meet in the middle.


Depending on the shape and size of the chocolate you may want to trim excess foil either side before folding the rest of the foil in.


Fold the rest of the foil and mould to the shape of the chocolate and then you are done.
 
 Once you get the hang of the process then why not experiment with different flavours by adding dried fruits etc. I added some dried cranberrries to my white chocolate hearts for a subtle hint of cranberry. 


Over the next few days I will post my final Valentine's post which will include wrapping ideas for presents and these chocolate hearts.


Happy Valentine's Day

Get a jump on your Valentine's Day Cards.... 
We have all the supplies you need at Mom and Me Scrapbooking
We also have a lot of card kits!!!!


Valentines Day is coming

We have tons of cute Valentine paper, stickers and die cuts. So come into day and get the supplies you need to make your Valentine's cards. You can use our die cut machine for free with purchase of our paper.

Easy Valentine Treats for the Classroom in SRM Tubes

I am so thrilled to be sharing an idea for you and your kiddos for their Valentine’s Day classroom exchange. You should know that I am totally one of those people that like to find ways to use products in ways other than their intended purpose and today’s inspiration will be no different.

With Valentine’s Day coming up, I decided to make things easy on myself and put some of the gorgeous pieces from the Little Yellow Bicycle: Just Because: Paper Crafting Kit to use to embellish a set of lightweight clear plastic tubes from SRM Press.

These tubes are BRILLIANT for packaging small candy treats and made the job of putting together sugary sweet Valentine’s for my daughter’s classmates super simple.
 What I love most about these tubes is that you can decorate them as simple or over the top as you wish and whichever way you choose they look absolutely adorable and like you fussed for hours over them. They are about 1” in diameter leaving you with tons of options for what treat to fill them with. I’ve seen yogurt covered raisins, cinnamon hearts, tart candies, chocolate coated candies, nuts, sunflower seeds, coins, messages in a bottle, rolled up stickers, etc.
To decorate them, I started simple by adding either a vellum tape strip or a pre-scored printed cardstock strip (from the Paper Crafting Kit) along the bottom of each tube. These add a visually substantial embellishment around the base of the tube and acts to ground whatever other embellishing you’re doing. Each vellum strip &/or pre-scored printed cardstock will wrap around three tubes, so you can really stretch the mileage from the set making them perfect when creating multiples!

When using the shapes from the Paper Crafting Kit, don’t feel limited by pieces that aren’t quite the right color because you can always use the reverse side that is white. Also, don’t overlook a piece that is pre-printed with a word or image that may not convey your feelings because it can also be layered with additional pieces to cover. I did exactly that using the light blue circle piece pre-printed with the word “happy”. You’ll also notice that the banner pieces are much narrower than they come in the kit. I simply cut ¼” to ½” strip off of each side so they would look more balance for the size of my tubes.
Some other tips:
  • It’s a good idea to alternate the height at which you place your layered embellishments so they don’t all get tangled together at the top.
  • Glue dots work best for adhering to the plastic tube. No worrying about glue drying or sticky fingers leaving marks on the tubes.
  • If you like a little extra bulk to your layers add in the small flowers and hearts from the package of Chipboard Shapes.
  • Use stickers from the Fresh Verse sticker sheet to add simple phrases. You can quickly turn them into a cute banner-like sticker by cutting a triangle-shaped notch in the right edge of the sticker.
  • Dust the sticky portion of any stickers that overhang with baby powder so they don’t inadvertently stick to anything else.
  • Consider using a tube of a different size for teachers and school administrators. Larger tubes work rather well for using the larger bows in the crafting kit.
  • Don’t have a need for classroom Valentine’s? No worries. You can adapt this idea for any theme using a Paper Crafting Kit from any of the other Little Yellow Bicycle collections.
  • Don’t want to use tubes? That’s okay, you can follow the same concept using glassine bags or cellophane bags too!
Happy Crafting!

Fiskars: Techniques for Altering A Canvas

stretching yourself creatively by trying new skills beyond your comfort zone of traditional paper crafting is good exercise and can be very liberating as you experiment in using some of your Fiskars tools beyond their typical scope.

that's exactly what i did with one of my latest project tutorials created for Fiskars.

i have to admit that it was super fun adding layer upon layer of paint and texture until i finally stepped back, admired my design, and called it complete.

if you've never altered a canvas before, you'll quickly learn that the beauty of altering a canvas is that once you start with the initial paint layers, you never really know quite how it will look in the end.

afterall, this canvas started out like this:

and then ended up like this:

to see the transformation and learn how to put your tools to work for you in a new way, visit my tutorial over on Fiskars.com: Spread Your Wings and Fly Altered Canvas by Tania Willis

A message with love

The most common gift given on Valentine's Day has to be a Valentine's card. Why not make your loved one something personal and from the heart by creating it yourself from scratch and they can be as simple or as complicated as you like. I have been working on three different card designs and I will share them with you below......

'Lovestruck'
For this card I used Tim Holtz cherub and heart die cut and also inked and glittered up some of his grungeboard hearts using his Distress Rock Candy glitter which looks amazing. Finish the whole thing off with some ribbon and a few buttons, without forgetting the sentiment at the bottom of the card.

'Hugs and Kisses'
Bunting is all around at the moment, with the popularity of the vintage theme so why not create a mini heart bunting on your card. Once again add some buttons and sentiment embellishments and you have a very cute bunting Valentine's card.

'Love and Hugs'
For this card I also used the cherub and heart die cut from Tim Holtz for the heart and arrow shapes used above. If you want to add a bit more detail to your cards, maybe take your time and emboss some of the layers. I used a dot embossing folder for the pink strip going across which adds a bit of texture and dimension. Once again a few buttons, this time I also adhered a cherub run-on to the button which I found randomly in my stash and then complete with a sentiment.

I hope these cards give you a little bit of inspiration to create something a bit different this year.


Home for Valentine's

Hi bloggers, today we are starting the Valentine inspirations with decorations for the home to embrace the spirit of love. Starting off with this fabric heart, decorated with Parisian flair, reflecting the colours of my room and remember Valentine decorations don't have to be about the reds and pinks. Try to add decorations that match the colours of your home, making them more natural and adding a subtle decoration for this time of year. 

However if you do want that splash of red and pink then check out the heart decorations below:


 The pink heart above is made from paper mache and has been painted pink and then sprinkled with Distress glitter (from the amazing Tim Holtz and Ranger). Add a white flower and sentiment and your done.


Last but not least is this beautiful heart wreath, decorated with a fabric heart and lace and flowers. Again, matching the natural colours around the home, a subtle nod to Valentine's Day.

I hope these ideas have added a little Valentine inspiration for around the home and remember to check out my Pinterest page to see what other inspirations you could use.


Valentine's Creations

Happy Weekend bloggers and it is a beautiful sunny start to the day here in Crawley, West Sussex. Well I can't believe it is February already, we are a month into 2013 and there are so many things to look forward to. Anyway we are only 13 days away from Valentine's day so this week I will be sharing some ideas, from cards and paper wrapping to decorations and sweet treats. And it doesn't matter if you don't have someone special in your life, just embrace the celebration of love and pamper yourself, after all we all need to love ourselves a little bit. Below is a sneak peek of some of the ideas to come so stay tuned this week, for some 'LOVE'ly ideas!